4.9 KiB
4.9 KiB
Mattermost Microsoft Calendar Plugin


Maintainer: @mickmister Co-Maintainer: @larkox
Help Wanted tickets can be found here.
Table of Contents
Overview
This plugin supports a two-way integration between Mattermost and Microsoft Outlook Calendar. For a stable production release, please download the latest version from the Plugin Marketplace and follow these instructions to install and configure the plugin.
Features
- Daily summary of calendar events.
- Automatic user status synchronization into Mattermost.
- Accept or decline calendar event invites from Mattermost.
Configuration
Step 1: Create Mattermost App in Azure
- Sign into portal.azure.com using an admin Azure account.
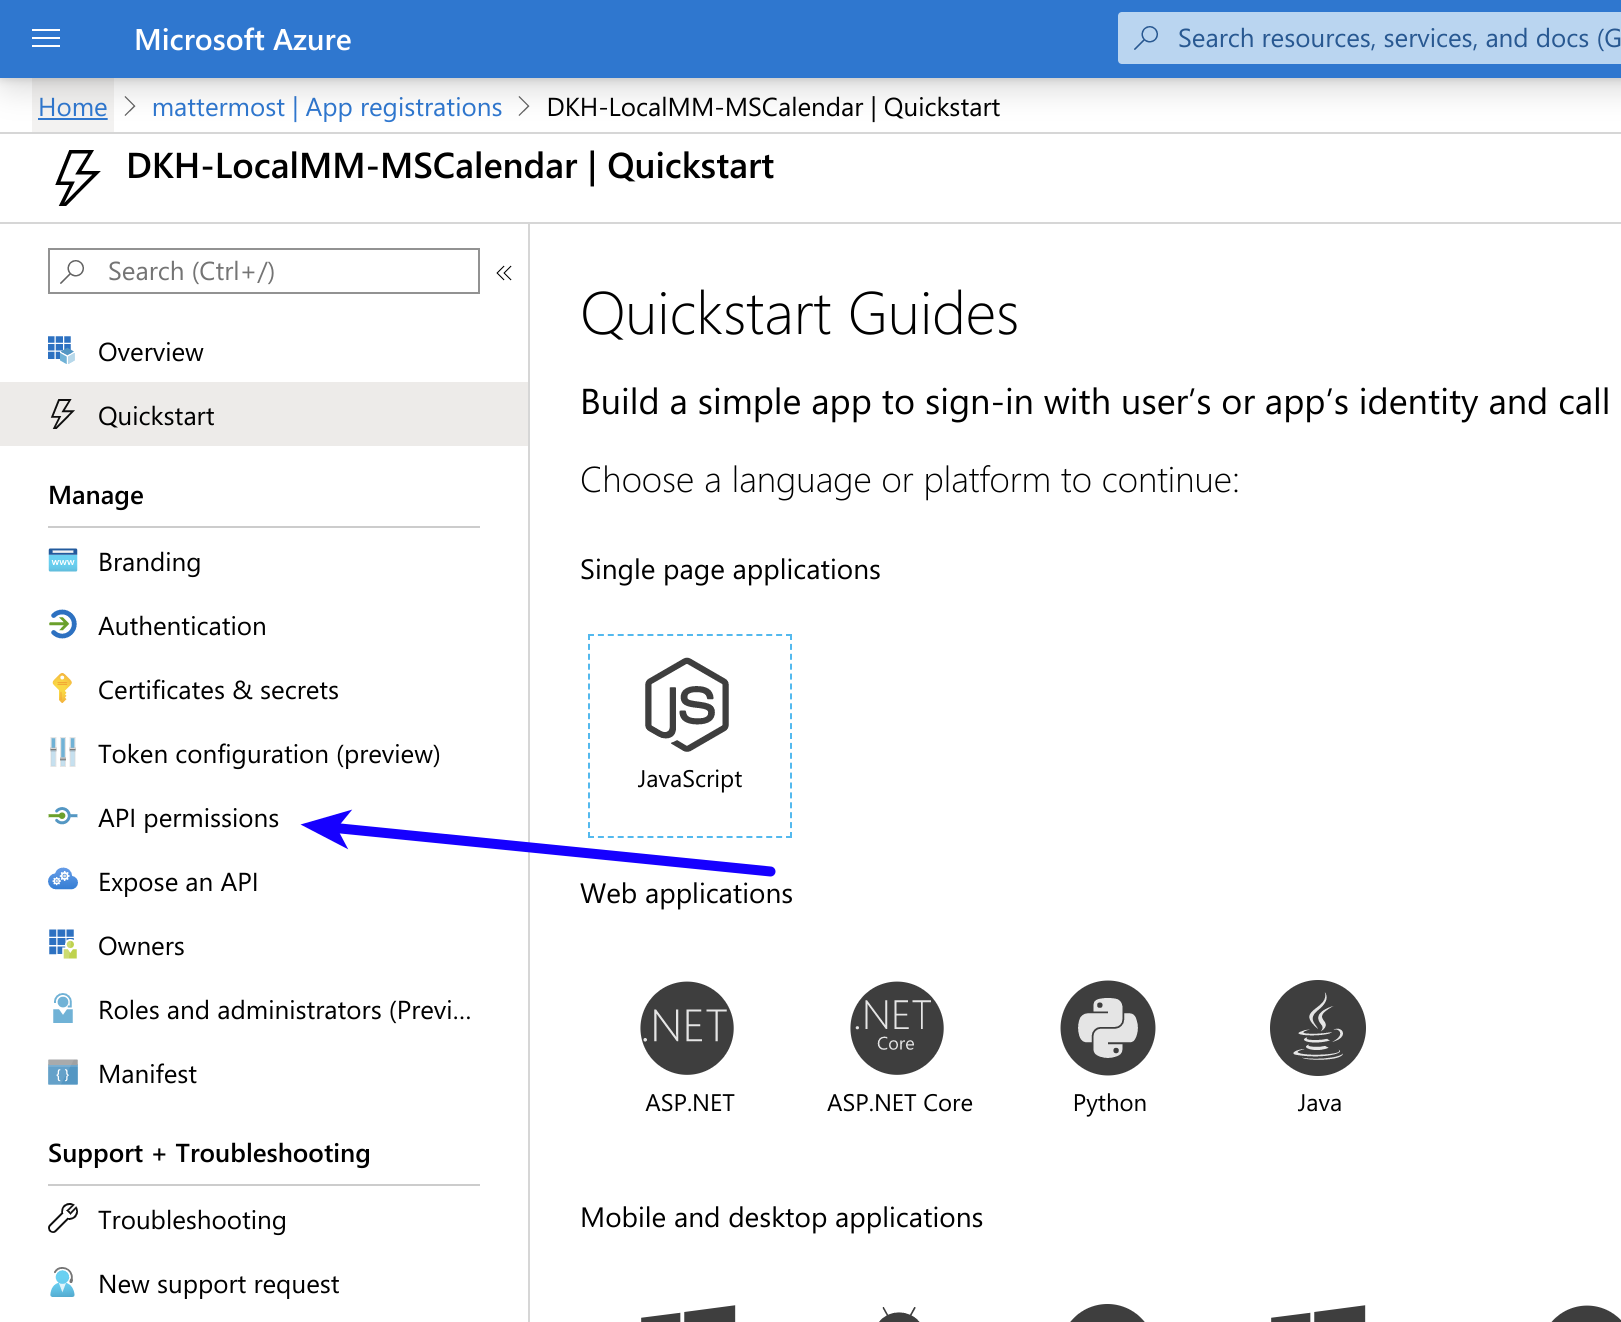
- Navigate to App Registrations
- Click New registration at the top of the page.

- Then fill out the form with the following values:
- Name:
Mattermost MS Calendar Plugin - Supported account types: Default value (Single tenant)
- Redirect URI:
https://(MM_SITE_URL)/plugins/com.mattermost.mscalendar/oauth2/complete
Replace (MM_SITE_URL) with your Mattermost server's Site URL. Select Register to submit the form.

- Navigate to Certificates & secrets in the left pane.

- Click New client secret. Then click Add, and copy the new secret on the bottom right corner of the screen. We'll use this value later in the Mattermost admin console.

- Navigate to API permissions in the left pane.
- Click Add a permission, then Microsoft Graph in the right pane.
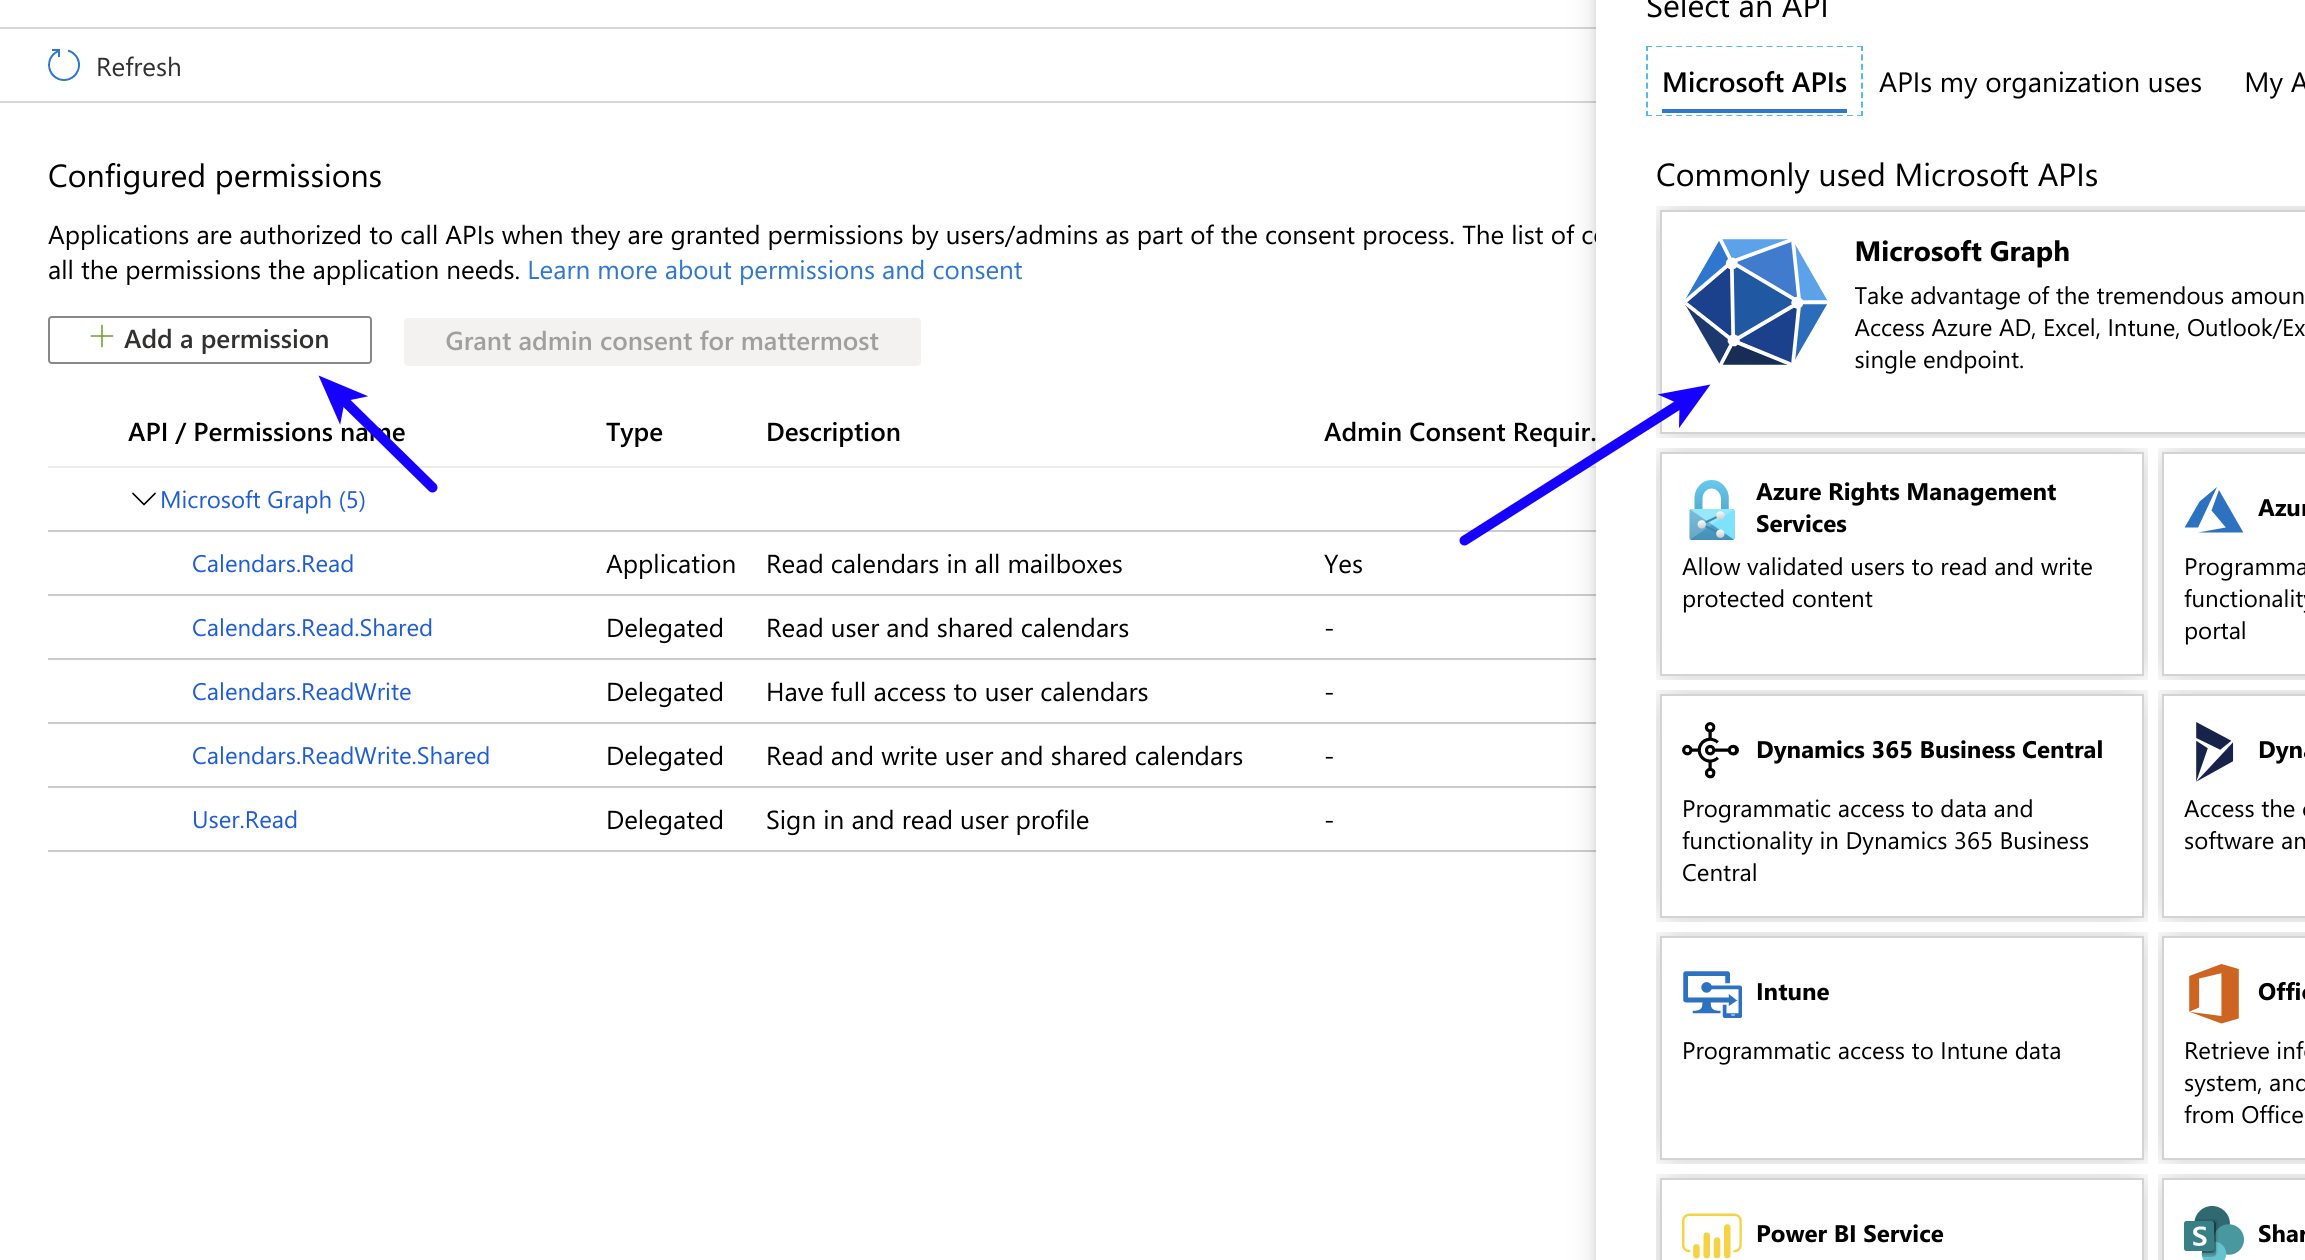
- Click Delegated permissions, and scroll down to select the following permissions:
Calendars.ReadWriteCalendars.ReadWrite.SharedMailboxSettings.Read

-
Click Add permissions to submit the form.
-
Next, add application permissions via Add a permission > Microsoft Graph > Application permissions.
-
Select the following permissions:
Calendars.ReadMailboxSettings.ReadUser.ReadAll
- Click Add permissions to submit the form.
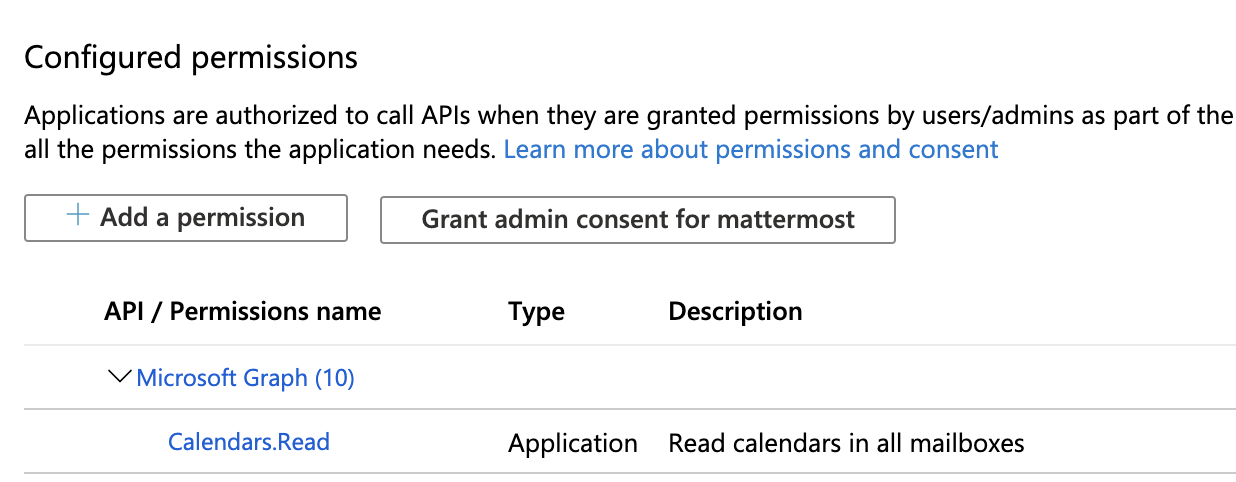
- Click Grant admin consent for... to grant the permissions for the application.
You're all set for configuration inside of Azure.
Step 2: Configure Plugin Settings
- Copy the
Client IDandTenant IDfrom the Azure portal.

- Navigate to System Console > PLUGINS (BETA) > Microsoft Calendar. Fill in the following fields:
Admin User IDs- List of user IDs to manage the plugin.tenantID- Copy from Azure App.clientID- Copy from Azure App.Client Secret- Copy from Azure App (Generated in Certificates & secrets, earlier in these instructions).